

The Ultimate Guide to Designing Your Customizable Foam Inserts with Free CAD Software
Introduction to Customizable Foam Inserts
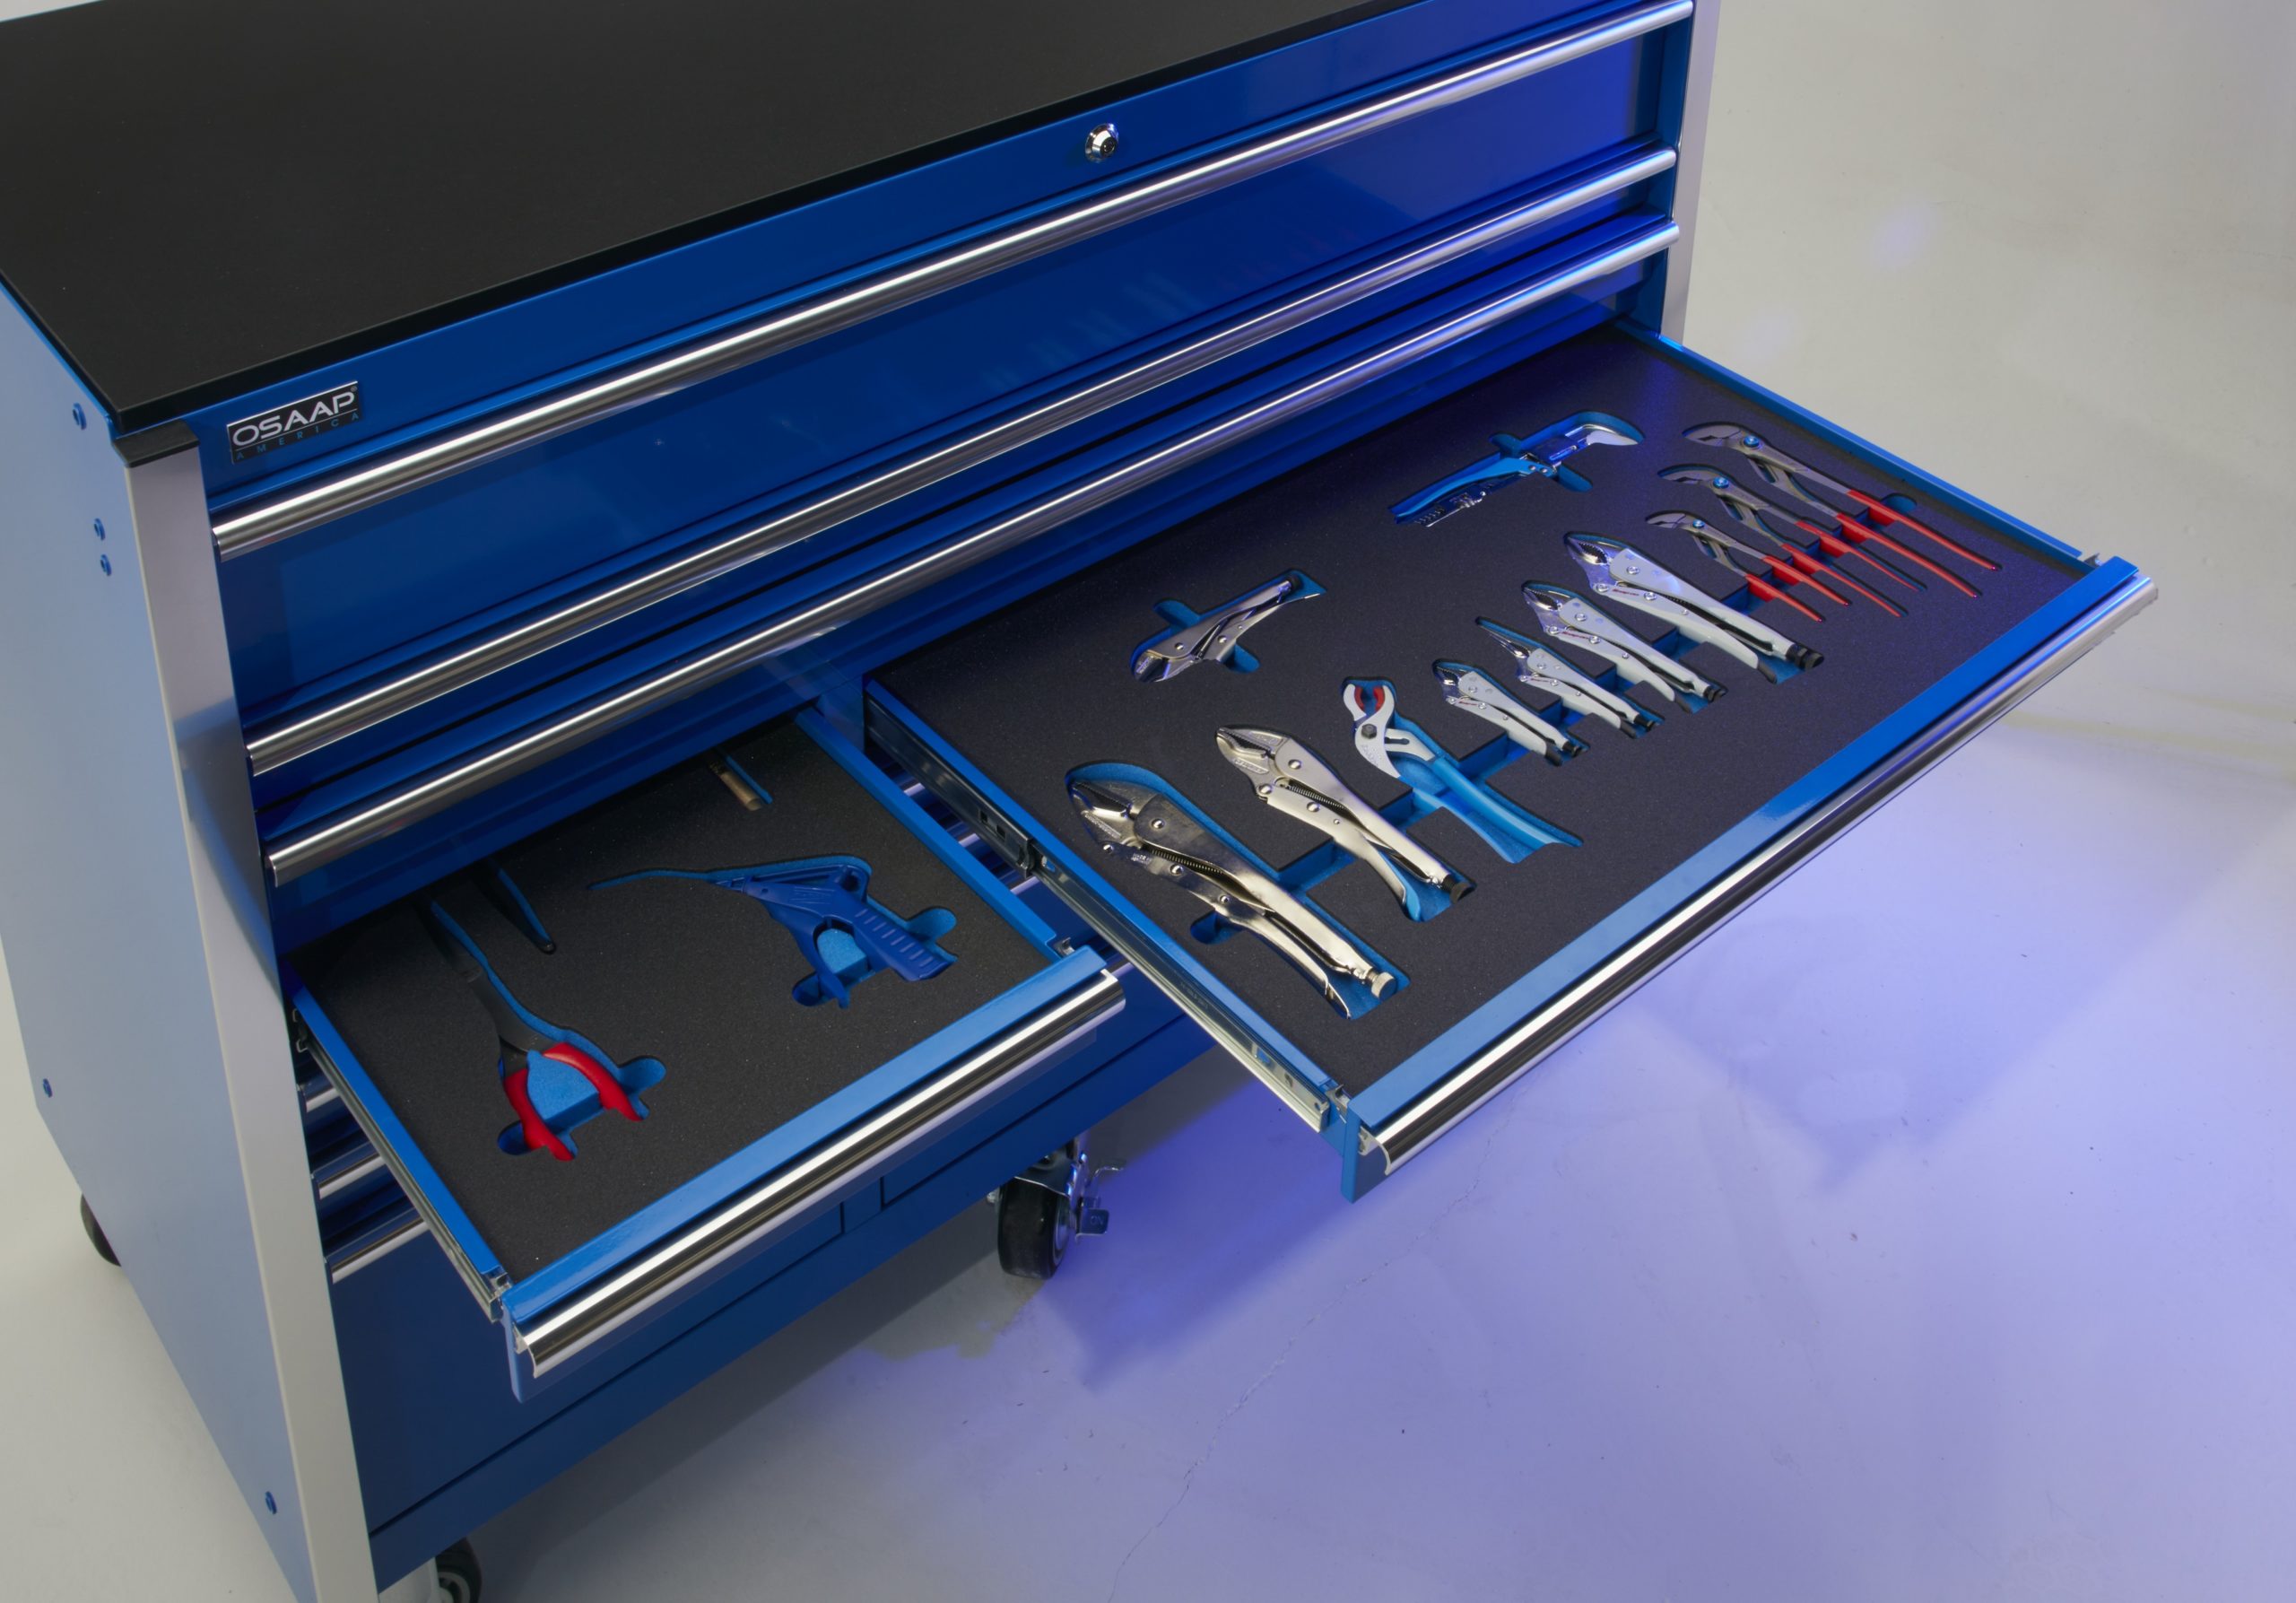
Foam inserts aren’t just chunks of foam tucked inside a box. They’re more like the secret agents of the packaging world, guarding your gadgets, tools, and treasures. Customizable foam inserts are specifically designed to fit the contours of whatever they’re protecting, offering a snug and secure embrace. If thinking about creating your very own custom foam insert seems daunting, don’t sweat it. You’re about to embark on a creative journey that’s not only practical but also pretty fun. With OSAAP’s free CAD software, you can design these protective geniuses from the comfort of your own home or workshop. No need for an engineering degree or an artist’s touch. Our software guides you through each step, making the process accessible and straightforward. Whether you’re aiming to safeguard a camera, ensure your tools are snug in their case, or keep collectibles in mint condition, designing your foam insert is a game-changer. Let’s dive into how you can turn protection into a personalized craft.

Understanding the Role of Foam Inserts in Protection and Organization
Foam inserts are your go-to solution for keeping things in place and safe. Picture this: you have some tools, electronics, or maybe delicate items that you cherish. You don’t want them rattling around in a box, getting scratches, or worse, breaking. This is where foam inserts come into play. They snugly fit around your items, offering a cushion that absorbs shocks and bumps. It’s like giving each of your valuables its own protective bed to sleep in. But it’s not just about protection. Foam inserts are a godsend for organization freaks. Ever opened a box and spent minutes, maybe hours, digging through it to find that one screwdriver? With foam inserts, everything has its spot. You can see everything at a glance, grab what you need, and get on with your task. No fuss, no mess. Think of foam inserts as your personal organizers and bodyguards for your items, all rolled into one.
The Basics of Free CAD Software for Designing Foam Inserts
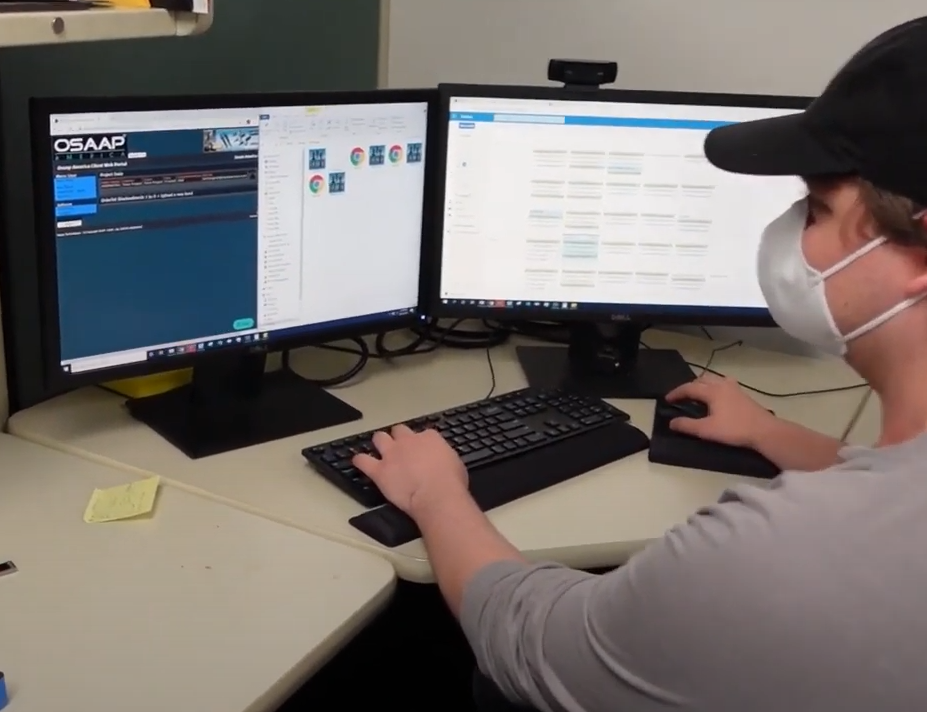
Blue Shadow, our Free CAD software is a tool that lets you create precise designs without spending money. It’s perfect for designing custom foam inserts that fit your gear exactly. Think of CAD software as digital drawing paper, where you can sketch out every detail of your insert. When designing Blue Shadow, our free CAD program, our goal was to make it user-friendly, aiming to help beginners start their projects quickly. When you start, you’ll learn about basic tools in our software and how to use them to move, design and manage your items. You’ll also discover how to add finger-grips and design accessories to make your design easy to use once manufactured. Remember, practice is key. The more you play around with the software, the better your designs will become. Don’t rush your design; take your time. This approach saves both materials and frustration. With free CAD, designing custom foam inserts becomes not just a possibility, but a fun project you can tackle from your own home.
If you want to get started we recommend checking out our knowledge base as it offers step by step training for our CAD software. You can also book a meeting with one of our design employees to get a personalized training or walk-through.
Identifying Your Needs: What to Consider Before Designing
Before you dive into the world of foam inserts, it’s crucial to figure out what you need. Start by asking yourself why you need these inserts. Are they for organizing tools, protecting camera gear, or something else? Your purpose will guide your design. Next, think about the items you want to protect or organize. Download our app, BlueMobile. Image them on one of our OSAAP light panels or a piece of standard 8.5” x 11” piece of paper. Understand their shapes and sizes because your foam insert needs to match these precisely. Consider the environment your items will be in. Will they face rough handling, moisture, or extreme temperatures? This dictates the type of foam and design features you need. Lastly, how much are you willing to spend? While designing with free CAD software saves money, the materials and manufacturing have costs. Keep these points in mind. Your project’s success starts with good planning.
If you want to get an estimate as to how much your desired project might cost to manufacture you can contact us at any time.
Step-by-Step Guide to Creating Your First Foam Insert Design
First off, pick download BlueShadow our Free CAD software. Start by sketching the outline of the objects you want to nestle into the foam. Think about how you’ll arrange everything for both protection and ease of access. Next up, download our app, BlueMobile, on your iPhone. Create your first project in the app. Create a board within the project using the exterior dimension you want to foam to be. Open the image capture option within your board and start taking pictures of your items. These pictures can either be on a high contrast background, a standard 8.5”x11” piece of paper, or a OSAAP branded light panel available for purchase on our store. If you choose to take the images simply on a high-contrast background we will need length and depth dimensions of your item. Once all the images are taken you can either design the layout yourself or send your sketches to our design team to make for you. Don’t worry our design team works free of charge to you, our customers. Add some space around each object. This extra room is your cushion, ensuring Whether you design it yourself or ask our design team to create the design for you make sure to double-check your design. Look at it with fresh eyes or ask a friend to review. Noticed a snug corner or too much space somewhere? Adjust it now. Finally, it’s showtime — approve your design and get it manufactured. There you have it, your custom foam insert, snug and secure, ready to protect your gear like a cozy blanket.
Tips for Optimizing Your Design for Precision and Efficiency
When designing your customizable foam inserts with free CAD software, precision and efficiency should be your top priorities. Here are some practical tips to achieve that. First, accurately measure the items you plan to store and double check those measurements within the software or with our design team. This ensures your design fits perfectly. Next, familiarize yourself with the CAD software. Spend time learning its tools and features. This investment saves time in the long run. Use the software’s grid feature. It helps in aligning your design elements accurately. Remember, less is more. Keep your design simple to avoid unnecessary complexity which can lead to mistakes. Lastly, always preview your design in 3D mode. This gives a better sense of the final product and allows for adjustments before the actual cutting process. By following these steps, you’ll craft efficient and precise foam inserts tailored to your needs.
How to Test and Refine Your Design Using CAD Software
Once you’ve sketched out your initial foam insert design using CAD software, don’t rush to finalize it. Iteration is key. Start by viewing your design in 3D to catch any potential issues. This step helps you visualize how your foam insert will look and fit in real life. Next, use the simulation features most CAD programs offer. These tools predict how your insert will interact with the items you want to protect. Testing the prototype is crucial which is why we offer first articles to all of our customers. Insert the items you designed the foam for. Shake tests help reveal if the items dislodge easily. If they do, back to the drawing board. Remember, refining your foam insert design is a process. Don’t be discouraged by initial fails. Each iteration brings you closer to the perfect fit.
Transforming Your CAD Design into a Physical Foam Insert
After you’ve nailed down your design in the free CAD software, turning that digital masterpiece into an actual foam insert might feel like magic, but it’s all about precise steps. Give us your CAD design to review, maybe tweak it with you to ensure it’s just right—think of them us as your design partner, not just a service.
Next step, material selection. This isn’t just about picking the prettiest color; it’s about finding the foam that’s tough enough for what you’re throwing at it, yet gentle on whatever you’re cushioning. Your partners will guide you here, making sure you get the best foam for your needs. Here at OSAAP we stock our favorite material options such as Zote Foams LD45 which is a closed cell cross-linked polyethylene foam.
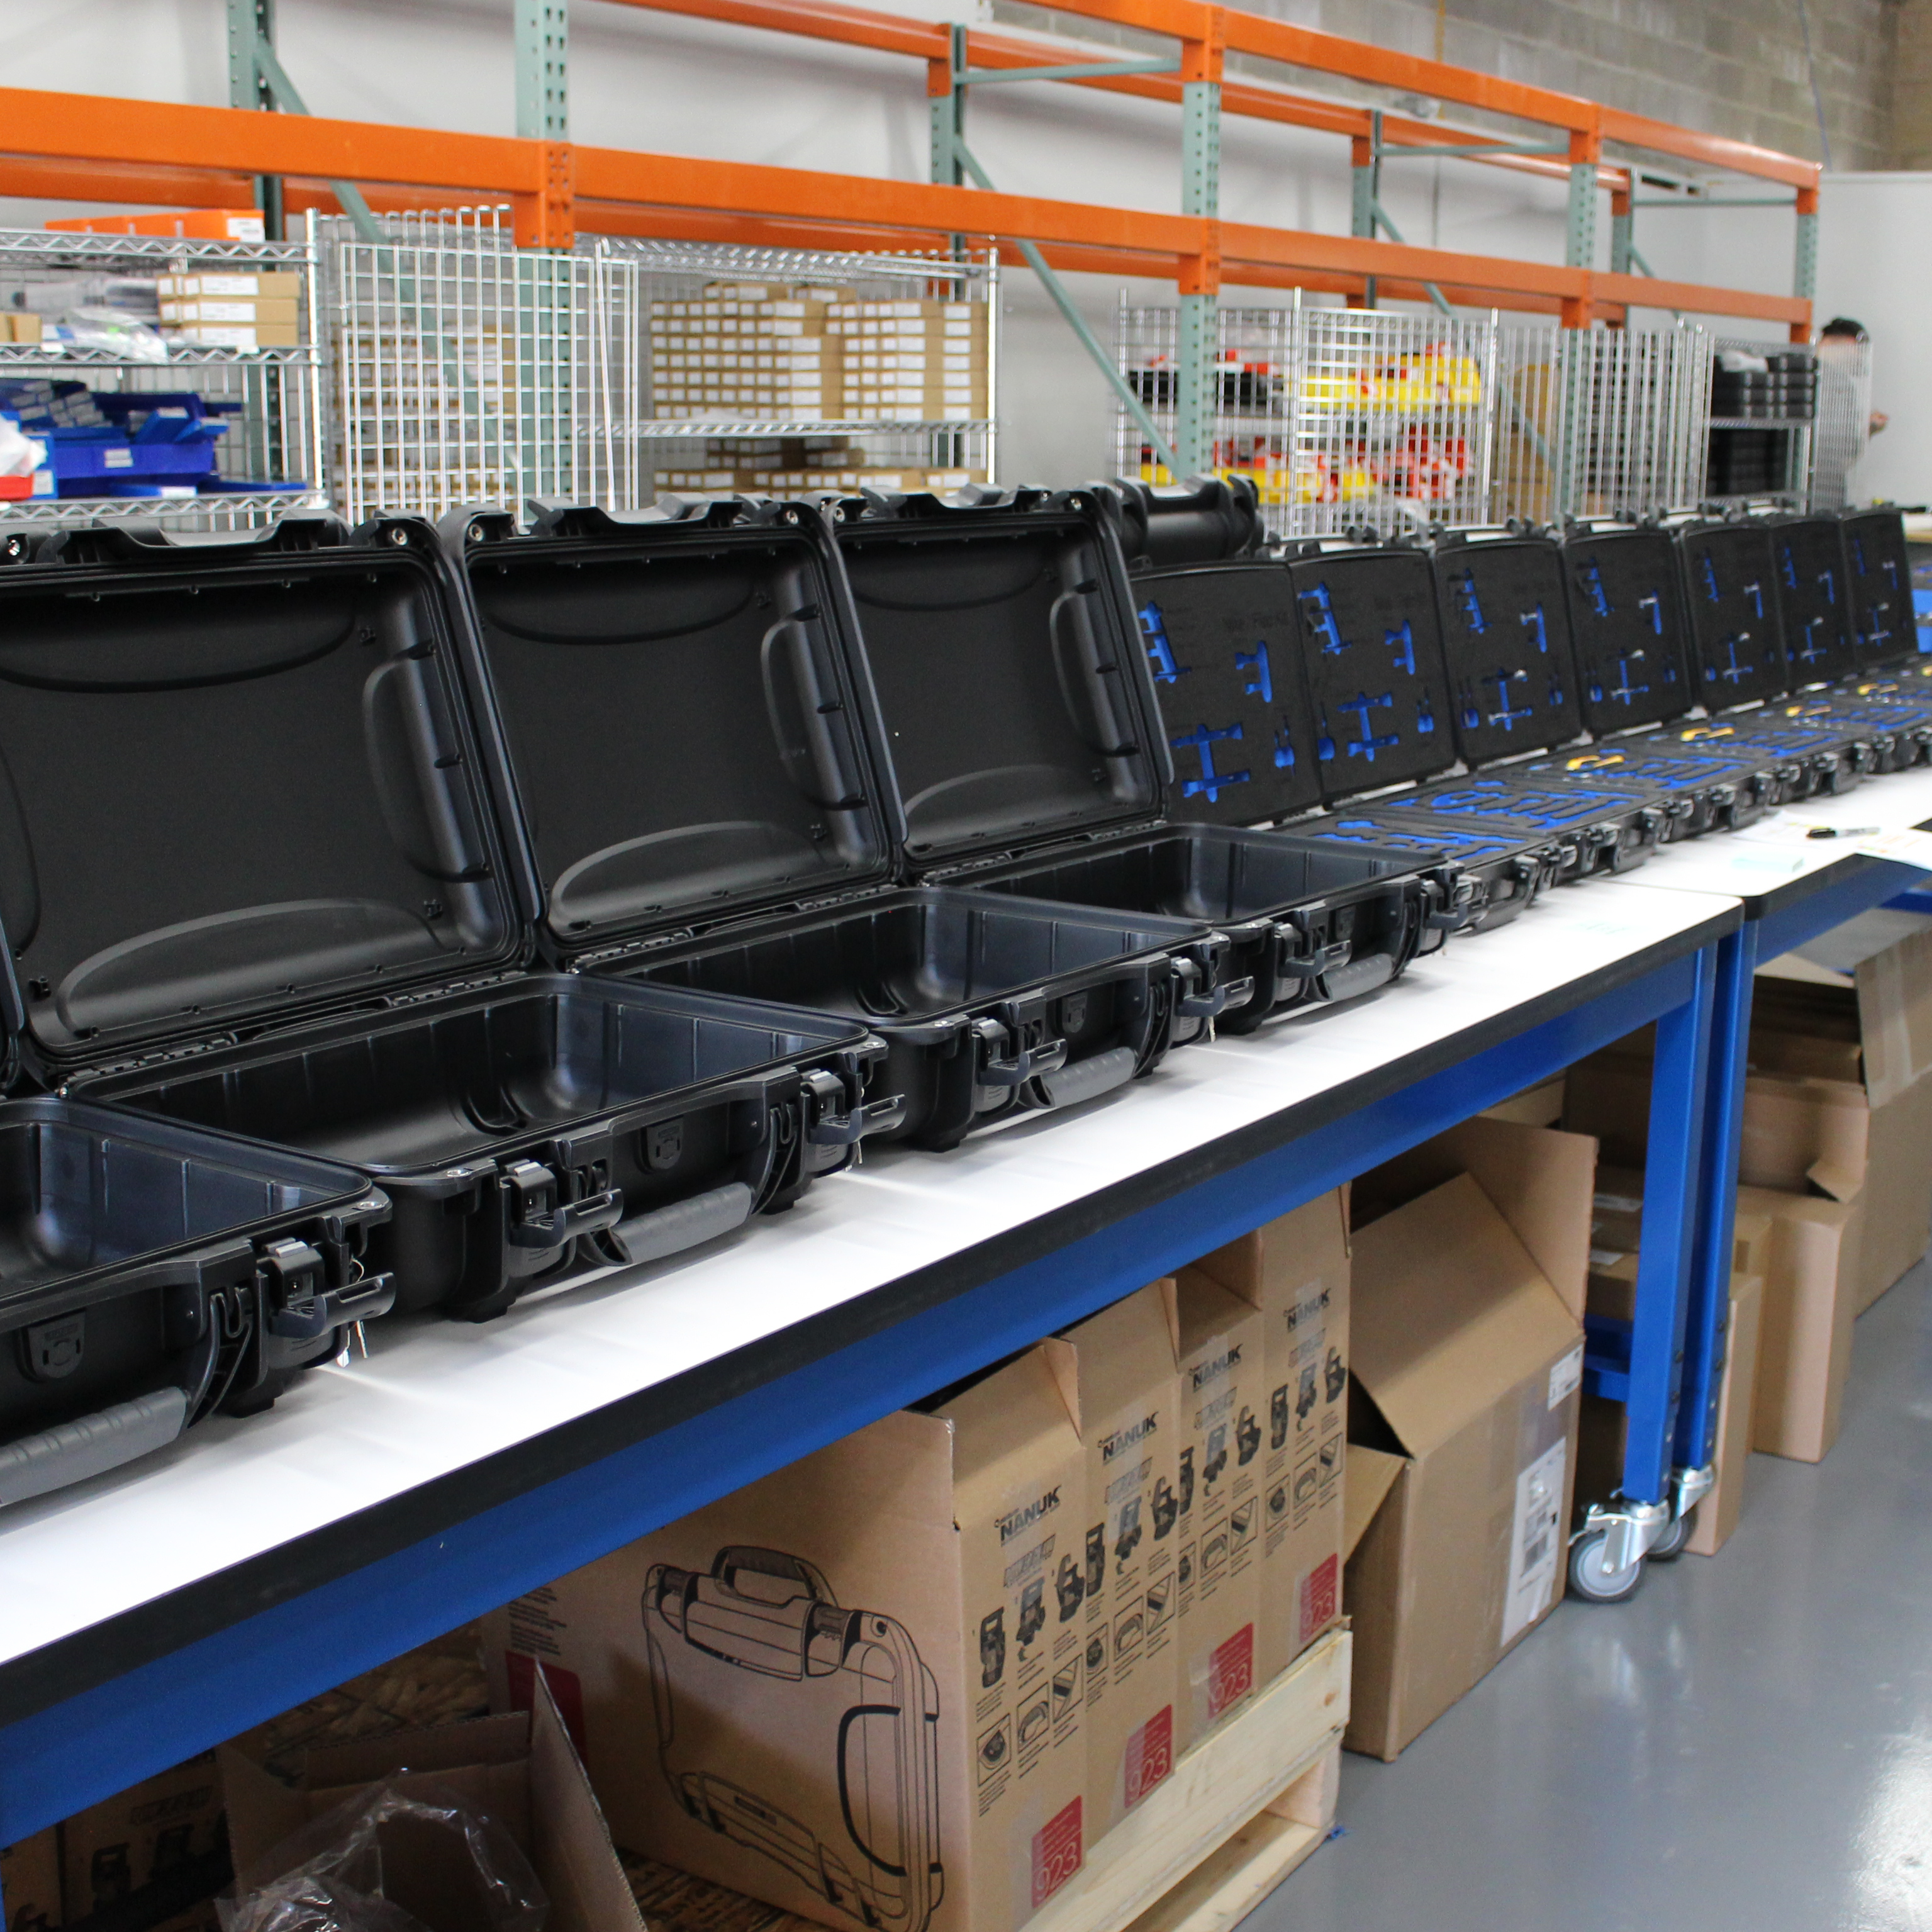
Then, the magic happens. We take your design, feed it into our machines, and those machines carve out your custom insert with precision. This isn’t a sloppy job. It’s clean, exact cuts that snugly fit your items.
Before you know it, your digital design is now a physical reality, ready to protect your gear in a foam fortress. It’s a straightforward process, but having skilled partners and the right CAD design makes all the difference.
Maintenance and Care for Your Custom Foam Inserts
Taking care of your custom foam inserts is simpler than you might think. First and foremost, If you choose a foam that is not closed cell make sure to keep it dry. Moisture can degrade foam quality over time, leading to issues like mold or mildew. If your foam does get wet, dry it out thoroughly. Air drying is best, but make sure it’s in a spot with good air circulation. Avoid direct sunlight though, as UV rays can break down the foam’s structure. It is very common for foam to degrade in this fashion which is why we carry a closed cell cross-linked foam where moisture can’t penetrate. We want your designs to last a lifetime and we don’t want you to have to worry about storage solutions.
Cleaning your foam inserts regularly is also key. Use a vacuum with a brush attachment to remove dust and debris. For tougher stains, a mild detergent and water solution should do the trick. Apply it gently with a cloth, dabbing rather than scrubbing to avoid damage. Rinse with a damp cloth afterward and let it air dry completely. Our LD45 foam can be used in a parts cleaner or even a dishwasher.
Avoid heavy objects or sharp edges pressing into your foam for extended periods. This can cause permanent indentations or tears. If your foam insert is for tools or delicate equipment, make sure to place them in their designated spots gently.
With these simple steps—keeping the foam dry, regular cleaning, and being mindful of pressure and sharp objects—your custom foam inserts should last you a long time, protecting your valuable items while keeping them organized.
Conclusion: Enhancing Your Experience with Customizable Foam Inserts
Designing your own customizable foam inserts can significantly improve how you store and protect your items, whether for professional equipment or personal valuables. By using OSAAP’s free CAD software, you’ve got the power to tailor every aspect of these inserts to your specific needs without spending extra cash on professional design services. Remember, a good design focuses on maximizing protection while ensuring a snug fit for whatever you’re storing. While the process might seem daunting at first, embracing the learning curve of CAD software empowers you to craft solutions perfectly fitted for your requirements. This do-it-yourself approach isn’t just about saving money; it’s about gaining a deeper understanding and appreciation for how your items are stored and protected. Dive in, experiment, and see how custom foam inserts can elevate your storage game.