
How Custom Tool Foam Transforms Your Workspace and Boosts Productivity
Why Custom Tool Foam Is Essential for an Organized Workspace
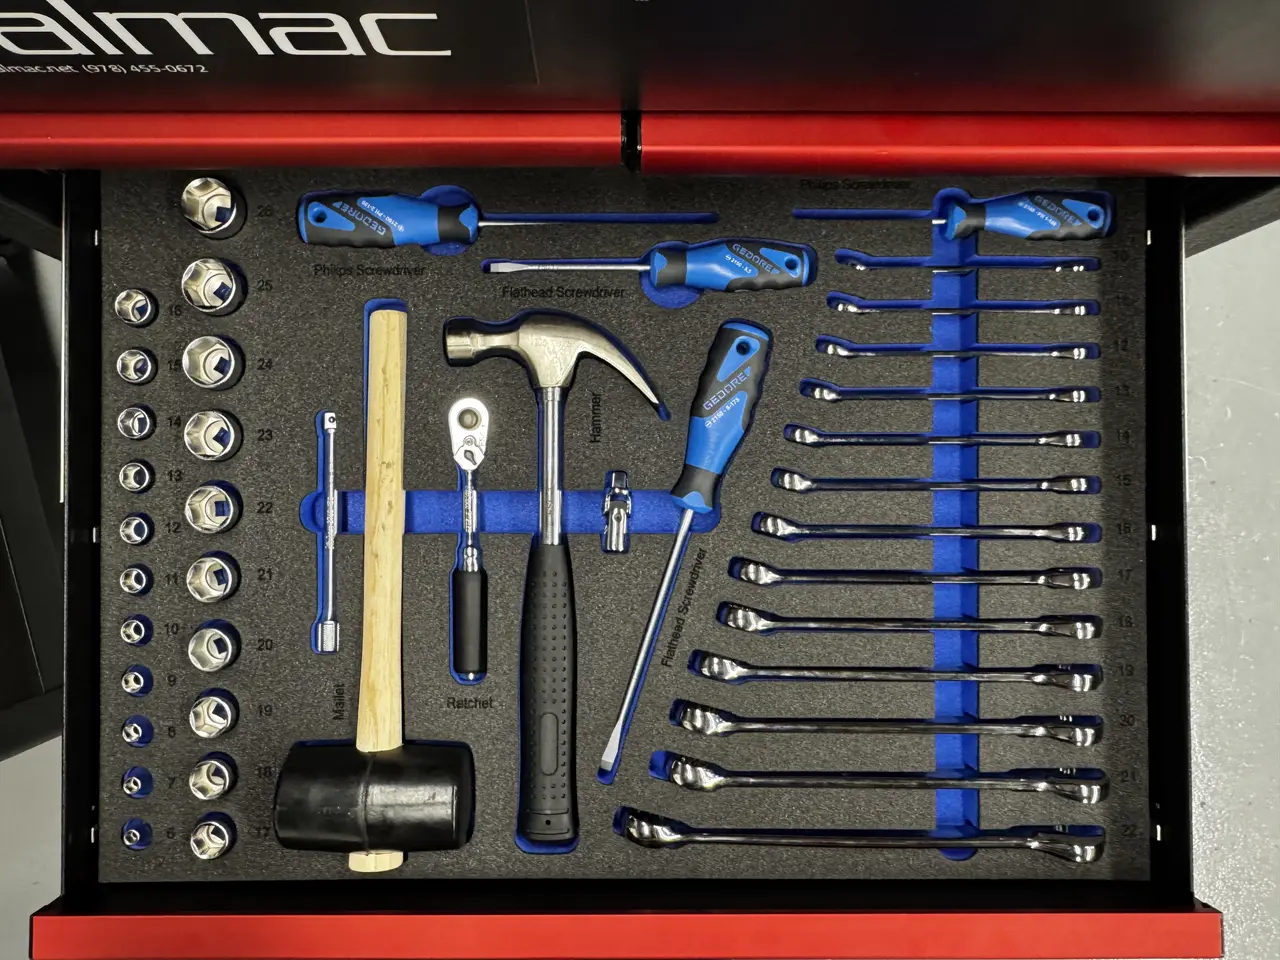
In today’s fast-paced work environments, efficiency and organization are critical. Custom tool foam offers a simple yet powerful solution for keeping tools व्यव organized, protected, and easy to access. More than just a storage option, custom tool foam creates a structured system that improves workflow, reduces downtime, and enhances overall productivity.
Instead of wasting time searching for misplaced tools or dealing with clutter, custom tool foam ensures that every item has a clearly defined place—making your workspace cleaner, safer, and more efficient.
The Key Benefits of Custom Tool Foam
Custom tool foam goes beyond aesthetics. It delivers practical advantages that directly impact daily operations:
- Improved organization: Every tool has a designated slot
- Faster workflow: Less time spent searching for tools
- Enhanced protection: Reduces wear, damage, and loss
- Increased safety: Eliminates hazards caused by loose tools
By implementing custom tool foam, you create a system that supports consistency and efficiency in every task.
Step 1: Evaluate Your Current Setup
Before introducing custom tool foam, assess your current workspace.
Ask yourself:
- Are tools easy to find?
- Do items frequently go missing?
- Are there delays caused by disorganization?
Identifying these pain points helps you understand where custom tool foam will have the greatest impact.
Step 2: Inventory and Prioritize Your Tools
Create a complete list of your tools and categorize them based on:
- Frequency of use
- Size and shape
- Function or task grouping
Frequently used tools should be placed in the most accessible positions. Custom tool foam allows you to design layouts that align with your natural workflow, saving time and effort.
Step 3: Choose the Right Custom Tool Foam
Selecting the right custom tool foam is critical for long-term performance.
Consider:
- Density: Heavier tools require firmer foam
- Thickness: Ensures proper depth and support
- Durability: Important for high-use environments
Choosing the right material ensures your custom tool foam maintains its structure and continues to protect your tools over time.
Step 4: Design an Efficient Layout
Before cutting, map out your tool arrangement directly on the foam.
Best practices include:
- Grouping similar tools together
- Arranging tools in order of use
- Minimizing unnecessary movement
Custom tool foam allows you to create a layout that improves ergonomics and streamlines your workflow.
Step 5: Cut Custom Tool Foam with Precision
Precision is key when shaping custom tool foam.
Steps include:
- Trace each tool outline carefully
- Use sharp tools or specialized cutters
- Test fit each tool as you go
A snug fit ensures tools stay secure while remaining easy to remove when needed.
Step 6: Install Your Custom Tool Foam
Once cut, place your custom tool foam into drawers, toolboxes, or workstations.
Ensure:
- A tight fit within the storage space
- Tools sit securely in their designated slots
- The layout matches your workflow needs
This step transforms your setup from cluttered to structured almost instantly.
Step 7: Add Labels and Visual Guides
Enhance your custom tool foam system with labels or markings.
Benefits include:
- Easier identification of tools
- Faster cleanup and organization
- Improved usability in shared workspaces
Visual cues make your system intuitive for everyone who uses it.
Step 8: Maintain Your Custom Tool Foam System
Consistency is key to long-term success.
To maintain your custom tool foam:
- Clean regularly
- Inspect for wear or damage
- Update layouts as tools change
Keeping your system up to date ensures it continues delivering value over time.
Final Thoughts: Why Custom Tool Foam Is Worth It
Custom tool foam is more than an organizational upgrade—it’s a productivity tool. By reducing clutter, improving efficiency, and protecting your equipment, it creates a workspace that supports better performance every day.
With a well-designed custom tool foam system, you’ll spend less time searching and more time working—allowing you to focus on what truly matters: your craft.
If you’re looking to optimize your workspace, increase efficiency, and extend the life of your tools, investing in custom tool foam is a smart and practical decision.